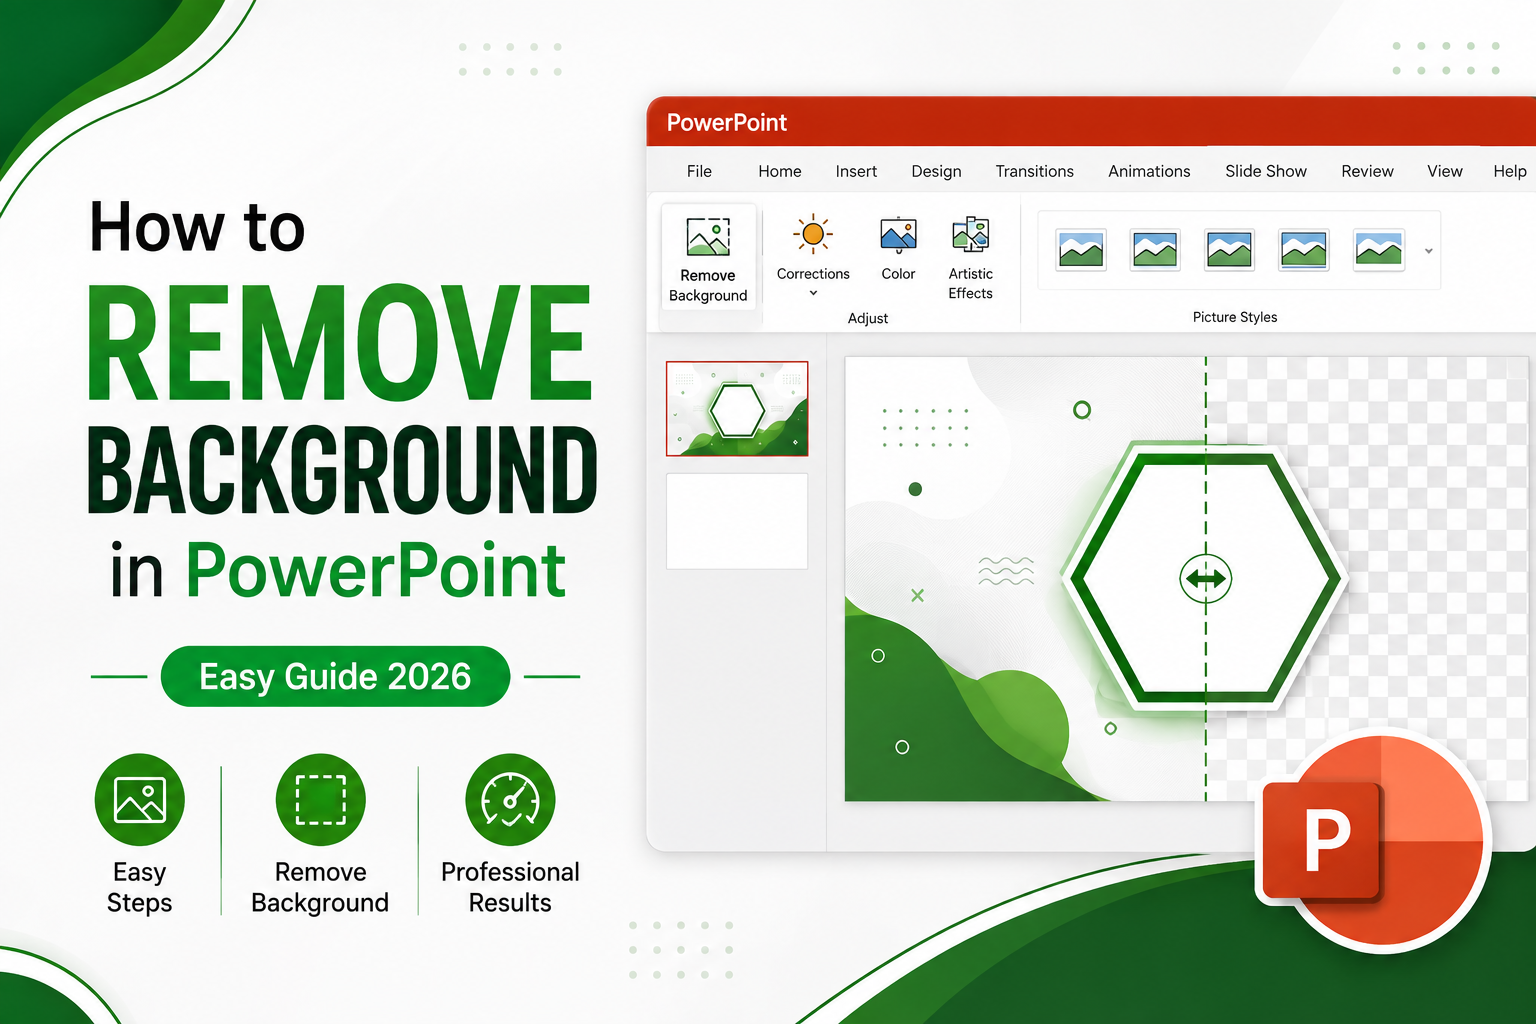
How to Remove Background in PowerPoint Easy Step-by-Step Guide (2026)
Removing the background from an image can instantly make a PowerPoint presentation look cleaner and more professional. Whether you're preparing a business presentation, school project, pitch deck, product presentation, or marketing slide, a distracting image background can take attention away from your main message.
Fortunately, you don't need Photoshop to remove a background from a picture. Microsoft PowerPoint has a built-in Remove Background tool that can automatically identify the subject and remove the surrounding background.
However, PowerPoint isn't perfect. It can require manual adjustments when you're working with hair, fur, shadows, transparent objects, or complicated backgrounds.
In this guide, you'll learn how to remove a background in PowerPoint, how to save the result as a transparent PNG, how to fix common background-removal problems, and when an AI background remover can save you time.
Can You Remove a Background in PowerPoint?
Yes, PowerPoint can remove the background from an image without requiring Photoshop or another image editor.
PowerPoint includes a Remove Background feature under the Picture Format tab. After selecting an image, PowerPoint analyzes it and automatically determines which part should remain as the foreground and which part should be removed.
You can then manually mark areas that should be kept or removed before applying the final edit.
The feature is particularly useful for:
Product images
Portraits
Logos
Business presentations
School projects
Marketing graphics
Pitch decks
Social media designs
For simple images with a clear contrast between the subject and background, PowerPoint can produce a good result. More complicated images may require additional editing.
How to Remove Background in PowerPoint
Follow these steps to remove an image background directly inside PowerPoint.
Step 1: Insert Your Image
Open your PowerPoint presentation and go to:
Insert → Pictures
Choose the image from your computer and add it to your slide.
Step 2: Select the Image
Click the image you want to edit.
When the image is selected, PowerPoint will display additional image-editing options in the ribbon.
Step 3: Open Picture Format
Click the Picture Format tab at the top of PowerPoint.
Look for the Remove Background option.
Step 4: Click Remove Background
Select Remove Background.
PowerPoint will automatically analyze the image and highlight the areas it believes should be removed.
The background will usually appear with a colored overlay, while PowerPoint attempts to preserve the main subject.
Step 5: Mark Areas to Keep
Sometimes PowerPoint accidentally selects part of your subject as background.
If this happens, choose:
Mark Areas to Keep
Then draw a small line over the part of the image you want to preserve.
You don't normally need to outline the entire object. A few carefully placed marks are often enough.
Step 6: Mark Areas to Remove
If PowerPoint leaves part of the original background behind, choose:
Mark Areas to Remove
Draw over the unwanted areas.
Continue switching between the two options until the preview looks clean.
Step 7: Keep the Changes
When you're happy with the result, click:
Keep Changes
PowerPoint will apply the background removal.
Your subject should now appear without its original background.
How to Save a PowerPoint Image as a Transparent PNG
Removing the background in PowerPoint is only part of the process.
If you want to use the edited image outside your presentation, save it as a PNG file.
Here's how:
Right-click the edited image.
Select Save as Picture.
Choose PNG Portable Network Graphics Format.
Select where you want to save the image.
Click Save.
PNG is useful for this purpose because it supports transparency.
This means you can place the image on another slide, website, document, social media graphic, or design without bringing the original background with it.
Why PNG Is Better for Transparent Images
If your goal is to create an image with a transparent background, PNG is generally the better choice than JPEG.
PNG supports transparent pixels, while JPEG does not.
For example, you can remove the background from a product photo and save it as a PNG. You can then place that product over:
A colored background
A gradient
Another photograph
A website design
A PowerPoint template
A promotional graphic
This makes transparent PNG images extremely useful for presentations and graphic design.
Remove a Background Online Without PowerPoint
If you don't want to manually edit an image inside PowerPoint, you can use an online AI background remover instead.
With an AI-powered background removal workflow, you typically:
Upload your image.
Let the AI identify the main subject.
Automatically remove the background.
Download the result as a transparent PNG.
Insert the PNG into PowerPoint.
You can try the AI Background Remover when you want to remove a background before adding an image to your presentation.
This approach can be especially useful when PowerPoint struggles with complicated edges or when you need to process images quickly.
How to Remove a Background From a Logo in PowerPoint
Logos often have simple shapes and high contrast, which can make them relatively easy to edit.
To remove a logo background:
Insert the logo into PowerPoint.
Select the logo.
Open Picture Format.
Click Remove Background.
Mark any logo elements that PowerPoint incorrectly selects.
Remove unwanted background areas.
Click Keep Changes.
Save the logo as PNG.
For logos containing very small text, thin lines, or low-resolution graphics, an AI background-removal tool may produce a cleaner result.
You can also learn more about creating transparent logos with our transparent logo background remover.
How to Remove a White Background From an Image
A white background is often easier to remove because there is usually a strong contrast between the subject and its surroundings.
In PowerPoint:
Select your image.
Open Picture Format.
Click Remove Background.
Check the automatically selected area.
Use Mark Areas to Keep if parts of your subject disappear.
Use Mark Areas to Remove if white areas remain.
Click Keep Changes.
Save the finished image as PNG.
For product photography, however, watch carefully for white objects that are similar in color to the background.
Common PowerPoint Background Removal Problems
PowerPoint can remove backgrounds effectively, but some images are more difficult than others.
Hair and Fur Get Cut Off
Fine details such as hair and fur can be difficult for automatic background detection.
If this happens, use Mark Areas to Keep and carefully add the missing portions.
For complicated portraits, an AI background remover may provide a faster workflow.
White Halo Around the Subject
A white or gray outline can sometimes appear around the subject after background removal.
This can happen because of the original lighting, image compression, or difficult edges.
Try using a higher-resolution image and carefully refine the selected areas.
Part of the Object Becomes Transparent
If PowerPoint accidentally removes part of the object, use Mark Areas to Keep and select that section again.
This is particularly important with:
Glass
Jewelry
Clothing
Shadows
Reflective objects
Thin product edges
Background Is Still Visible
If small portions of the background remain, use Mark Areas to Remove.
Zooming into the image can make it easier to identify leftover background pixels.
The Image Looks Blurry
Background removal cannot restore details that aren't present in the original image.
If possible, start with the highest-resolution version of the image.
Tips for Cleaner Background Removal
You can improve your results by preparing your images properly.
Use High-Resolution Images
Higher-quality images provide more edge information, making it easier for background-removal tools to distinguish the subject from its surroundings.
Use Good Lighting
Even lighting can reduce confusing shadows and improve separation between the subject and background.
Choose Simple Backgrounds
When taking product or portrait photos, a simple background can make automatic background removal much easier.
Crop Unnecessary Areas
Cropping excess space around your subject before processing can help focus the removal process on the important part of the image.
Inspect the Edges
Always zoom in around:
Hair
Hands
Clothing
Product edges
Glass
Jewelry
Thin objects
Small imperfections may not be obvious at normal zoom.
Best Uses for Transparent Images in PowerPoint
Once you've removed an image background, you can use the transparent PNG in many different types of presentations.
Business Presentations
Place people, products, logos, or graphics over your company's branded backgrounds without distracting boxes around the images.
Product Presentations
Transparent product images can make slides look more like professional marketing materials.
Pitch Decks
Clean visuals can help create a more polished and consistent presentation.
Educational Slides
Teachers and students can isolate important objects, people, diagrams, and illustrations.
Marketing Presentations
Transparent images make it easier to create promotional layouts and branded graphics.
Social Media Content
A transparent image created for PowerPoint can also be reused in social media designs and promotional materials.
Is an AI Background Remover Better Than PowerPoint?
It depends on the image and your workflow.
PowerPoint is convenient when you're already working on a presentation and only need to remove a background from a simple image.
An AI background remover can be more convenient when:
The image has a complicated background.
You need cleaner edges.
You're working with several images.
You don't want to manually mark areas.
You want a transparent PNG quickly.
You don't have image-editing software.
For simple images, PowerPoint is a useful built-in option. For more demanding images, a dedicated AI solution can save time.
Try FreeBackgroundRemoverAI
If PowerPoint's manual background-removal process is taking too long, you can use FreeBackgroundRemoverAI to remove image backgrounds online.
The workflow is simple:
Upload → Remove Background → Download PNG
You don't need Photoshop or advanced design skills to get started.
Try the Free AI Background Remover to create a transparent image that you can place directly into PowerPoint.
If you're specifically working with logos, visit the Logo Background Remover for a dedicated workflow.
You can also explore other image-editing tools from the FreeBackgroundRemoverAI homepage.
Frequently Asked Questions
How do I remove a background in PowerPoint?
Select your image, open the Picture Format tab, and click Remove Background. Use Mark Areas to Keep and Mark Areas to Remove to refine the selection, then click Keep Changes.
Can PowerPoint remove an image background for free?
PowerPoint includes a built-in Remove Background feature in supported desktop versions. Whether you have access to the feature depends on the PowerPoint version and license you're using.
How do I make an image transparent in PowerPoint?
Remove the background using PowerPoint's Remove Background tool, then right-click the edited image and select Save as Picture. Choose PNG as the file format.
Does PowerPoint save transparent backgrounds?
Yes. After removing the background, you can save the edited image as a PNG file so that the transparency can be preserved outside the presentation.
Can I remove a white background in PowerPoint?
Yes. PowerPoint can remove many white backgrounds, particularly when the foreground object has strong contrast with the background. You may need to manually refine the selection.
Why does PowerPoint remove part of my image?
PowerPoint automatically estimates which areas belong to the background. When the subject and background have similar colors or complicated edges, it may incorrectly remove part of the subject. Use Mark Areas to Keep to correct it.
Can PowerPoint remove backgrounds from logos?
Yes. PowerPoint can remove backgrounds from many logos. Logos with thin text, fine lines, or low quality images may require more manual adjustment.
What is the best format for a transparent background?
PNG is one of the most common formats for transparent images because it supports transparency. JPEG does not support transparent backgrounds.
Is there a faster alternative to PowerPoint?
Yes. Online AI background-removal tools can automatically detect a subject and remove its background without requiring the manual marking process used by PowerPoint.
Can I remove an image background on my phone?
Yes. If you use an online background-removal tool that works in a mobile browser, you can upload an image from your phone and download the resulting transparent PNG.
Final Thoughts
Learning how to remove a background in PowerPoint is useful when you want cleaner, more professional presentation visuals without opening Photoshop.
PowerPoint's built-in Remove Background feature works well for many simple images. You can refine the selection manually and save the finished image as a transparent PNG for use in other projects.
However, complicated images with hair, fur, reflections, shadows, or busy backgrounds can take more time to clean up manually.
If you want a faster workflow, try FreeBackgroundRemoverAI. Upload your image, remove the background automatically, and download the transparent result for your PowerPoint presentation.
For more background-removal tools and tutorials, visit the FreeBackgroundRemoverAI homepage.
Share this guide with your team