Remove Background in Google Slides (Step-by-Step Guide)
A cluttered or mismatched background behind a product photo, headshot, or icon can quietly undermine an otherwise solid presentation. Whether you're building a sales deck, a classroom lesson, or a pitch for investors, clean, well-cropped images make the difference between a slide that looks put-together and one that looks rushed. This guide walks you through exactly how to remove background in Google Slides using the tools built into the app, and introduces a faster method for anyone who wants studio-quality results without the manual work.
By the end of this guide, you'll know what Google Slides can and can't do for background removal, how to use its built-in cropping and masking tools, and how to get a perfectly clean transparent PNG in seconds using an AI-powered tool.
Quick Answer
Google Slides doesn't have a true AI background remover. You can crop images into shapes or use the "Format Options" mask tool for simple edits, but for a clean, professional background removal, the fastest method is to remove the background online first using a free AI tool, then insert the transparent PNG directly into your slide.
What Does "Remove Background in Google Slides" Mean?
When people search for this, they usually mean one of two things: cutting an image down to just its subject (like a product or a person) so it blends into the slide, or replacing a busy photo background with a transparent one so the slide's own background color or design shows through instead.
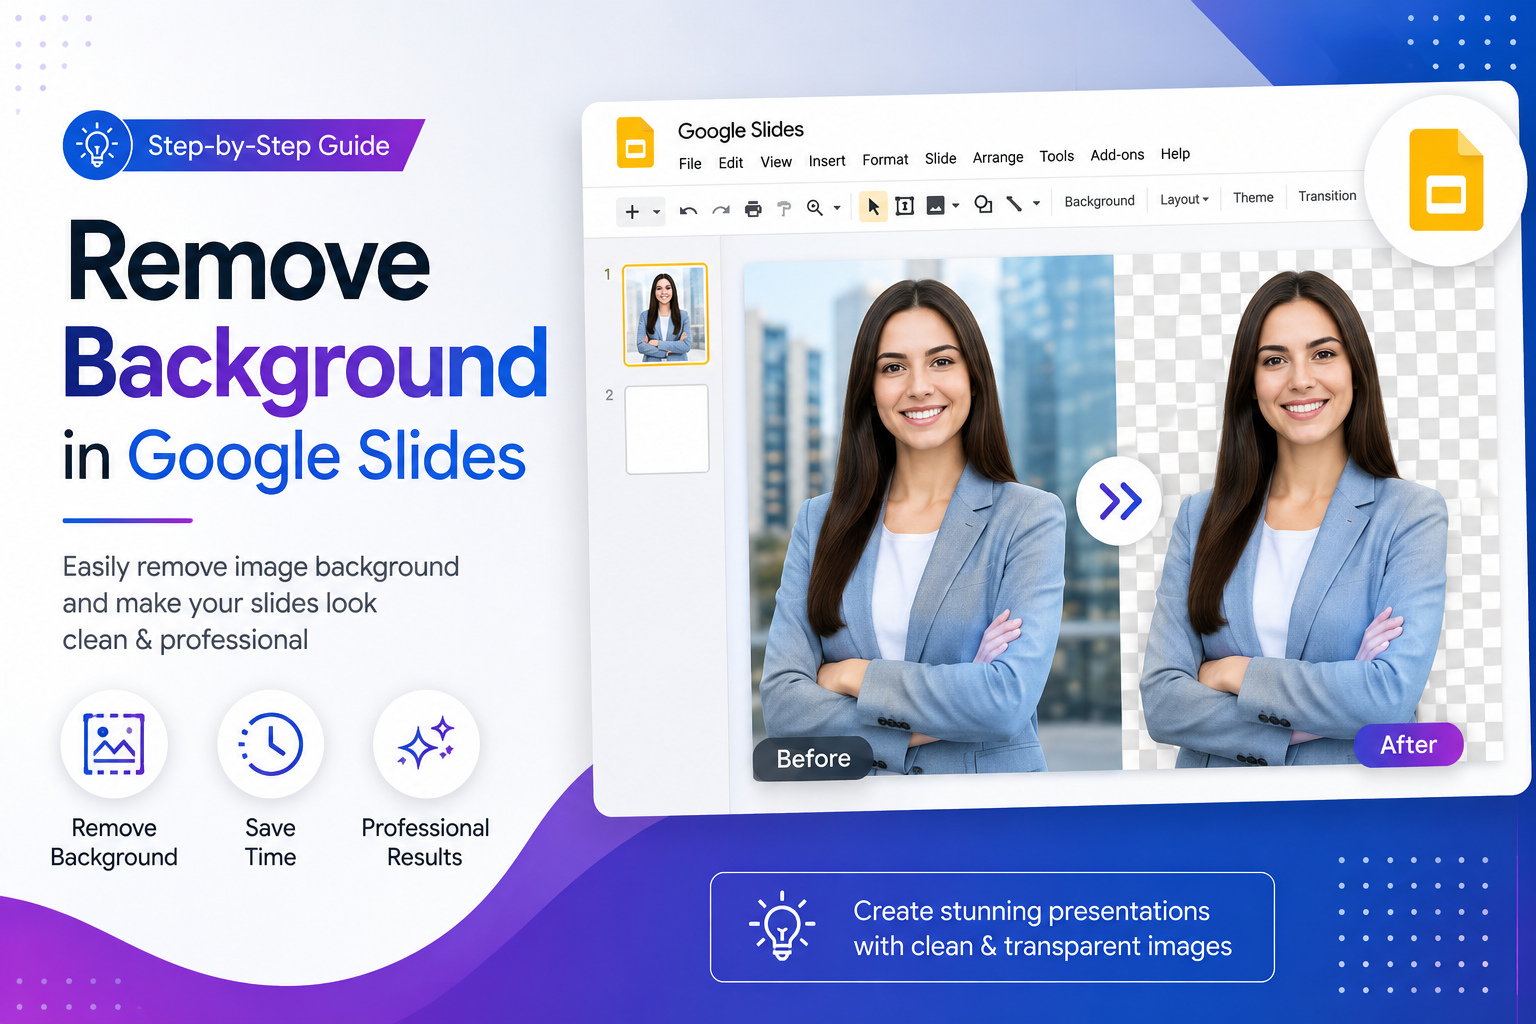
A transparent PNG is the key to this. Unlike a JPEG, which always has a solid rectangular background, a PNG file can store transparency information, so only the subject of the image is visible and everything else lets the layer underneath show through. This is exactly why designers and marketers "remove the background" from an image before dropping it into a slide, a website, or an ad. It's a small technical step that has a large visual impact, especially in professional or client-facing presentations.
Can You Remove Backgrounds Directly in Google Slides?
Here's the honest answer: partially. Google Slides gives you a few built-in tools, but none of them are a true AI-powered background remover.
What Google Slides can do:
Crop an image into a shape (circle, star, arrow, etc.) using Format Options
Mask part of an image manually with the crop tool
Adjust transparency of the whole image (not just the background)
Recolor an image
What Google Slides cannot do:
Automatically detect a subject and cut out the background
Remove a busy or complex background (like a photo of a person outdoors)
Generate a true transparent PNG from a photo with a solid-color background
If your image already has a plain white or solid-color background, Google Slides' basic tools might get you close. But for anything with a real-world, detailed background, you'll need to remove the background before uploading the image, which is where an AI background remover comes in.
How to Remove Background in Google Slides (Step-by-Step)
If you want to try Google Slides' native tools first, here's how:
Step 1: Insert your image. Open your slide, go to Insert > Image, and upload the photo you want to edit.
Step 2: Select the image and open Format Options. Click the image once, then go to Format > Format Options in the top menu.
Step 3: Use the crop tool for simple shapes. Click the small dropdown arrow next to the crop icon in the toolbar to crop your image into a shape like a circle or rounded rectangle. This hides the background outside the shape but won't isolate an irregular subject like a person or product.
Step 4: Adjust transparency if needed. Under Format Options > Adjustments, you can increase the transparency slider, but note this affects the entire image, not just the background.
Step 5: Layer the image over your slide background. If your image already has a transparent PNG background (from an external tool), simply drag it onto the slide and resize it. Google Slides preserves PNG transparency automatically once the file is uploaded.
For most real photos with detailed backgrounds, Steps 1–4 won't fully remove the background. That's the limitation covered next.
Why Google Slides Doesn't Have a True AI Background Remover
Google Slides is a presentation tool first, not an image editor. Its built-in features are designed for basic layout adjustments: cropping, resizing, shape masking, and simple color correction. Detecting the exact edges of a subject like hair, fingers, or fabric requires AI-based image segmentation, which is a specialized task that photo-editing and AI tools handle, not slide software.
This means:
Manual cropping only works for simple geometric shapes, not organic subjects
Masking in Slides hides part of the image but doesn't truly delete pixels
Complex backgrounds (trees, crowds, textured walls) can't be isolated automatically
There's no "magic wand" or AI subject-detection tool inside Slides
In short, Google Slides expects you to bring in an already-edited image. That's standard practice among professional presentation designers, and it's exactly why AI background removal tools have become a normal part of the workflow.
The Fastest Way to Remove Backgrounds Before Importing into Google Slides
The most reliable method is to remove the background before you ever open Google Slides. This is where Free Background Remover AI Blog's tool, FreeBackgroundRemoverAI.com, comes in handy.
Here's the process:
Upload your image to FreeBackgroundRemoverAI.com
The AI detects and removes the background automatically, even around hair, fingers, and complex edges
Download the transparent PNG in a few seconds
Insert the PNG into Google Slides using Insert > Image
This approach is:
Free — no cost to remove backgrounds
No signup required — upload and download immediately
Fast — results in seconds, not minutes
High quality — clean edges even on detailed subjects
AI-powered — no manual masking or clicking around edges
Since the tool outputs a proper transparent PNG, Google Slides handles it perfectly. You just drop it onto your slide, and the background of your slide (whether it's a solid color, gradient, or company template) shows through naturally.
How to Insert a Transparent PNG into Google Slides
Once you have your transparent PNG ready:
Upload: Go to Insert > Image > Upload from computer and select your PNG file.
Resize: Drag the corner handles to scale the image proportionally. Avoid dragging edge handles, as this distorts the image.
Crop (if needed): Use the crop tool only if you want to trim extra transparent space around the subject.
Layering: Right-click the image and use Order > Bring to Front or Send to Back to position it correctly relative to text boxes and other elements.
Alignment: Use Arrange > Align to center the image or snap it to guides for a polished, symmetrical layout.
Because the background is already transparent, there's no white box or mismatched color around your subject. It sits naturally on the slide.
Benefits of Transparent Images in Presentations
Removing backgrounds isn't just a cosmetic choice. It has practical benefits across different use cases:
Business presentations: Product shots blend seamlessly into branded slide templates
Sales decks: Client logos and product images look polished next to your own branding
Marketing decks: Icons and photos layer cleanly over colored backgrounds or graphics
Classroom slides: Diagrams and cut-out images are easier for students to focus on
Product presentations: Multiple products can be displayed together without visual clutter from mismatched backgrounds
A transparent PNG also gives you more creative freedom. You can place text behind or around a subject, layer multiple images, or set a subject over a photo background without any awkward rectangular edges.
Common Mistakes to Avoid
Using low-resolution images: Small or blurry source images produce jagged, unprofessional edges once the background is removed
Skipping the transparent PNG format: JPEGs cannot store transparency, so always download as PNG
Ignoring edge quality: Check hair, fur, or fine details after removal since some tools blur or clip these areas
Over-compressing downloads: Heavy compression can introduce visible artifacts around the subject's edges
Stretching images to fit: Always resize proportionally to avoid distorting the subject
Forgetting to check contrast: A light-colored subject can disappear against a light slide background, so check visibility before finalizing
Best Tips for Professional Google Slides
Stick to one or two accent colors so cut-out subjects visually match your theme
Use consistent image sizing across slides for a cleaner, more deliberate look
Add subtle drop shadows to transparent PNGs so they don't look flat against the background
Keep text off busy parts of an image, even after background removal, for readability
Use high-resolution source photos (at least 1000px wide) before removing the background
Group related transparent images together to avoid a cluttered slide
Frequently Asked Questions
Can Google Slides remove image backgrounds automatically? No. Google Slides can crop images into shapes and adjust transparency, but it doesn't have AI-based automatic background removal.
How do I make an image transparent in Google Slides? Upload a PNG file that already has a transparent background. Google Slides preserves the transparency automatically once inserted.
Is there a free background remover I can use before Google Slides? Yes. FreeBackgroundRemoverAI.com lets you upload an image and download a transparent PNG for free, with no signup required.
Can I use PNG files in Google Slides? Yes. PNG is fully supported and is the recommended format for any image that needs a transparent background.
Does Google Workspace include AI background removal? Not natively within Slides. Google Workspace focuses on collaboration and basic editing rather than AI photo editing.
Which file format is best for transparent images? PNG, because it supports transparency. JPEG does not.
Will the background removal tool work on photos of people? Yes, AI background removers are trained to detect subjects including people, and generally handle hair and clothing edges well.
Do I need design skills to remove a background? No. AI tools automate the detection and cutting process, so no manual editing skills are required.
Can I resize a transparent PNG after inserting it into Slides? Yes. Drag the corner handles to resize proportionally without losing quality or distorting the image.
Why does my image still show a white box after uploading? This usually means the file was saved as a JPEG instead of a PNG, so it doesn't have transparency data.
Can I remove backgrounds from multiple images at once? Most AI background removers, including FreeBackgroundRemoverAI.com, process one image at a time for the highest quality results.
Does removing the background reduce image quality? Not if you use a good AI tool and a decent-resolution source image. Quality loss is usually a result of low-resolution originals, not the removal process itself.
Can I use these transparent images outside of Google Slides too? Yes. Transparent PNGs work the same way in PowerPoint, Canva, websites, and any other design software.
Is FreeBackgroundRemoverAI.com really free to use? Yes, there's no cost and no account required to upload, process, and download your image.
What's the ideal image size before removing the background? Aim for at least 1000px on the shortest side so the final cut-out looks sharp at presentation size.
Conclusion
Google Slides gives you basic cropping and masking tools, but it stops short of true AI-powered background removal. For simple shapes, its native tools are enough. But for product photos, portraits, or anything with a detailed background, removing the background before you upload the image is the faster and more reliable path to a professional-looking slide.
Tools like FreeBackgroundRemoverAI.com make this step effortless: upload your image, let the AI do the work, and download a clean transparent PNG in seconds. Once you insert it into Google Slides, it drops seamlessly onto your background, no white boxes, no jagged edges, no manual masking required.
If you're preparing a deck that needs to look sharp, it's worth trying this workflow once, you'll likely never go back to manual cropping.
Share this guide with your team